Installing Hurricane Straps on an Existing Roof: What Every Homeowner Should Know

As a hurricane nears, your roof often becomes the most exposed and high-risk part of your home. Strengthening that weak spot can make all the difference. One of the most effective upgrades? Installing hurricane hardware like roof straps. These metal connectors can significantly increase the stability of your home by reinforcing the connection between your roof and walls—especially in older houses built before modern wind codes were established.
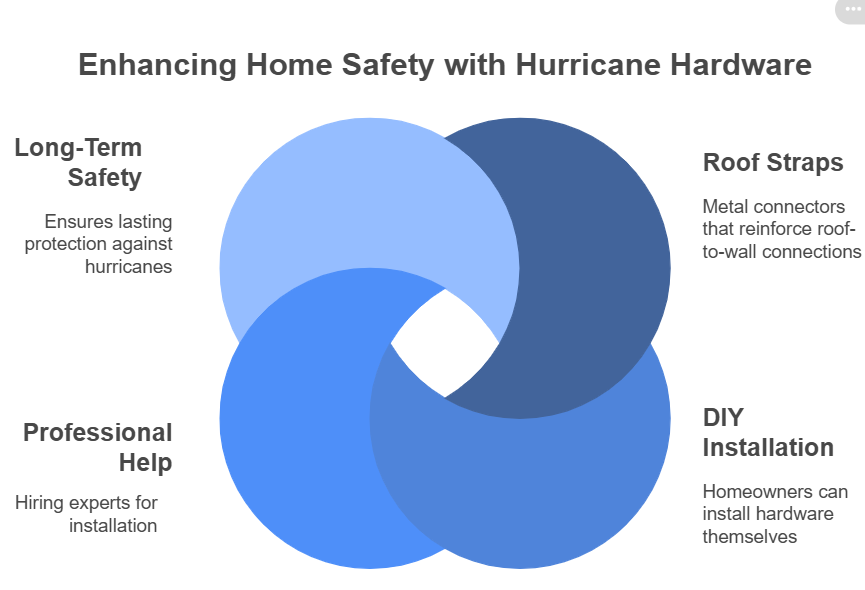
Whether you're planning a DIY project or considering professional help, retrofitting hurricane straps to an existing roof is a smart investment in long-term safety.
Why Are Hurricane Straps So Important?
Many homes constructed before recent building code updates lack proper connections between the roof and the structure beneath. During extreme wind events, this can lead to structural failure—roofs detaching from homes, causing severe damage and costly repairs.
Hurricane straps are designed to prevent that scenario. These metal connectors attach roof rafters or trusses directly to the top plates of your walls, forming a continuous load path that helps resist uplift during high winds. When paired with other protective measures such as storm shutters, accordion shutters, or hurricane panels, your home becomes a stronger, safer space.
Can You Install Hurricane Straps on an Existing Roof?
Yes, you can retrofit hurricane straps onto an existing structure. While it’s easier to install them during the construction phase, homeowners can still benefit from adding straps afterward. To retrofit hurricane straps, you'll usually need access to the attic or may have to carefully remove sections of ceiling drywall or soffit to expose where the roof structure meets the walls.
Depending on your location, some municipalities may require permits or inspections. It’s always best to check local codes or consult with a licensed contractor familiar with wind mitigation strategies.
Tools and Materials You’ll Need
Before starting, gather the following:
Approved hurricane straps or ties
Hurricane shutters hardware (if upgrading your full wind protection system)
Galvanized nails or structural screws
Drill or nail gun
Safety gear (gloves, goggles, ladder, etc.)
Flashlight or headlamp for attic visibility
Choose connectors rated for your local wind load zone. Manufacturers typically include documentation showing which straps meet which building codes.
Step-by-Step Installation Guide
1. Locate the Connection Points
First, access your attic or remove soffit or drywall sections to expose where the rafters or trusses meet the wall’s top plate. This is the critical spot where uplift forces act during strong winds.
2. Position Each Strap Properly
Slide the strap over the rafter or truss and down over the wall’s top plate. The metal should lie flush against the wood on both surfaces. Use pre-drilled holes to align the strap in the correct position.
3. Secure the Strap with Fasteners
Use galvanized nails or structural screws to firmly attach the strap to both the roof and wall components. Avoid skipping holes—every point adds strength to the connection. If using screws, choose ones specifically rated for structural loads.
4. Repeat the Process Along the Wall
Continue installing straps along the entire length of the roof, placing them on each rafter or truss. Be sure to inspect each connection for security. Afterward, replace any insulation or panels you had to remove.

Tips for Success
Check for wood damage. Rotten or split wood won’t hold fasteners properly. Replace damaged framing before installing straps.
Mind the spacing. Follow the manufacturer’s guidelines for strap placement and spacing.
Use code-compliant hardware. Not all straps are created equal—choose hardware that meets your region’s structural codes.
How Hurricane Straps Fit Into a Bigger Protection Plan
While roof straps are vital, they work best as part of a broader wind-resistance strategy. Other key components include:
Storm shutters or accordion shutters to protect windows and doors
Reinforced garage doors or bracing systems
Gable end wall bracing in high wind areas
By combining roof reinforcement with full-perimeter protection, your home becomes far more resilient during tropical storms or hurricanes.
What’s the Cost to Retrofit?
Pricing varies by region, home size, and whether you're doing the job yourself or hiring help. On average:
DIY materials: $300–$600
Professional installation: $1,500–$3,500
Additional upgrades (panels, shutters, tie-downs): Varies
Some insurance companies offer discounts for verified hurricane mitigation improvements. You may also qualify for local grant programs that support retrofitting.

Is It Worth the Effort?
Absolutely. Compared to the cost of storm repairs—or worse, rebuilding—hurricane straps are a low-cost, high-impact improvement. They also boost your home’s resale value and can lower windstorm insurance premiums.
If you're already investing in hurricane hardware like shutters or panels, reinforcing the roof makes sense. It ties your entire storm defense system together—quite literally.
Whether you're securing a vacation home in a storm-prone zone or upgrading your full-time residence, installing hurricane straps offers reliable peace of mind. These simple connectors can protect your roof when nature throws its worst—and ensure that the people and property beneath it stay safe.


Comments
Post a Comment